The great thing about the clasp in this bracelet is that you can sew beads into the perforated design. I love how it keeps the pearl theme going from start to finish!
Crystal pearls mingle with touches of clear crystal beads in this lovely bracelet. Cheri added even more pearls to this lush multi-strand look thanks to the perforated clasp. She sewed small pearls onto the surface for a finishing touch that matches the design perfectly. Choose your favorite pearl colors to make this look your own.
Add a stopper bead to a comfortable length of thread and leave a six-inch tail. Follow the stitching path in our Love's Blush Bracelet PDF Diagram to sew the 3mm round pearls in Rose Gold onto the disc of the rhodium-plated small round perforated clasp. Remember, the holes on the diagram represent the holes in the disc and not the pearls. You will start with your thread coming out from underneath the center hole on the clasp. Add a pearl to the thread and then bring your thread back down through the same hole, as the red dot indicates on the diagram. Bring your thread under the disc and up through hole 2 as shown in the diagram. Add a pearl and then go down through hole three. Keep following the diagram in this manner, adding a bead at each red dot and solid black arrow. When you reach hole 32, you will be adding a 2mm faceted round in Crystal instead of a pearl. Do the same for holes 33-43. Tie off and secure your thread once all of your beads have been added. You can add some adhesive to the thread on the back of the disc for extra security. Place the disc on top of the clasp and fold the prongs of the clasp down over the disc with pliers.
Cut a length of jewelry wire approximately ten inches long. Slide a sterling silver 2x2mm crimp tube onto the wire, followed by a sterling silver 4.60mm open jump ring. Bring the wire back through the crimp tube and crimp in place. Hide the crimp with a sterling silver 3mm crimp cover.
Add a 6mm faceted round in Crystal to the wire, followed by a 6mm nickel-plated filigree bead cap, three 8mm round pearls in Rose Gold, and a bead cap. Repeat the pattern four times and then finish the strand with a 6mm Crystal bead. Add a crimp tube to the wire and bring the wire through the jump ring on the other end of the first strand. Bring the wire back through the crimp tube and crimp in place. Hide with a crimp cover.
Cut a length of jewelry wire approximately ten inches long. Slide a crimp tube onto the wire, and then bring the wire through the jump ring attached to one end of your first strand. Bring the wire back through the crimp tube and crimp in place. Hide the crimp with a crimp cover.
Add a 3mm pearl to the wire, followed by a 6mm Crystal bead, and another 3mm pearl. Add 25 6mm round pearls in Rose Gold. Then, add a 3mm pearl, a 6mm Crystal bead, and another 3mm pearl. Add a crimp tube to the wire, followed by a jump ring. Bring the wire back through the crimp tube and crimp in place. Hide with a crimp cover.
Repeat steps 4 and 5 for another strand, attaching it to the same jump rings as before.
Attach each half of your clasp to each end of the bracelet using a jump ring for each.
Add all available items to your cart at once or edit the quantities below.
Any items with quantities lower than stated minimums will default to the minimum in your cart.
Nice choice! All or most of the products needed for this project are shown
below with quantities. Sometimes we sell out of components and aren’t able to order more from
the manufacturer (we know, it is very disappointing to us, too). Use the opportunity to mix up
the design and make it yours by substituting similar products or altering the entire color
scheme—it’s up to you!
Please wait while we add the products to your cart.
Love's Blush
Rose Gold Pearl Multi-Strand Bracelet with Beaded Clasp
designed byCheri Carlson
Skill LevelBeginner
TechniqueSimple Stringing
Time1-3 Hours
Approximate Size7 1/2 Inches
The great thing about the clasp in this bracelet is that you can sew beads into the perforated design. I love how it keeps the pearl theme going from start to finish!
Crystal pearls mingle with touches of clear crystal beads in this lovely bracelet. Cheri added even more pearls to this lush multi-strand look thanks to the perforated clasp. She sewed small pearls onto the surface for a finishing touch that matches the design perfectly. Choose your favorite pearl colors to make this look your own.
Supplies
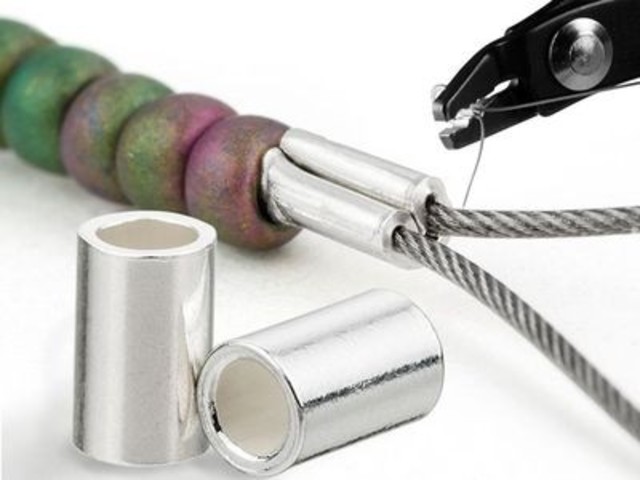
Sterling Silver 3mm Crimp Cover - Min Qty 4
Code SS-CCOV01
$0.26
×6
Sterling Silver 2 x 2mm Crimp Tube Bead - Min Qty 10
Code SS-CRM2
$0.12
$0.14
×6
Bead Crimper Tool
Code TOOL-100
$13.09
×1
Mighty Crimper
Code TOOL-118
$13.89
×1
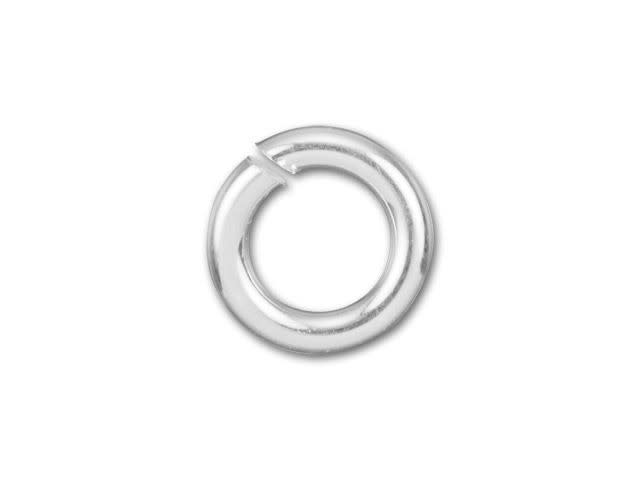
Sterling Silver Open Jump Ring - 0.035 x .180 inches (0.90 x 4.60mm) - Min Qty 4
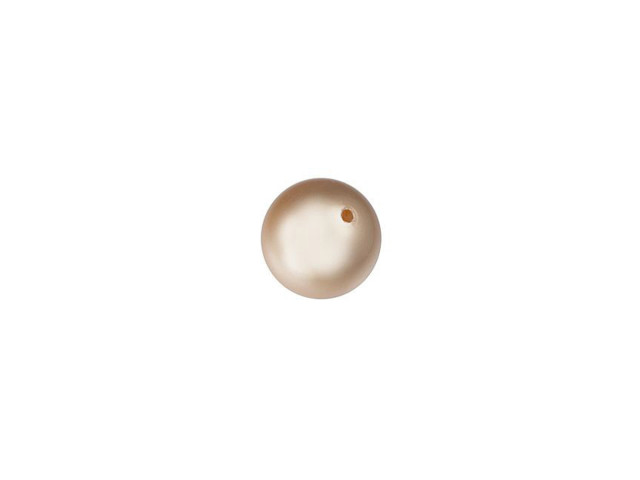
PRESTIGE 5810 3mm Round Crystal Pearl Rose Gold - Min Qty 10
Code 5810-ROG3
$0.08
$0.12
×27
German Bent Chain Nose Pliers
Code TOOL-510
$30.99
×1
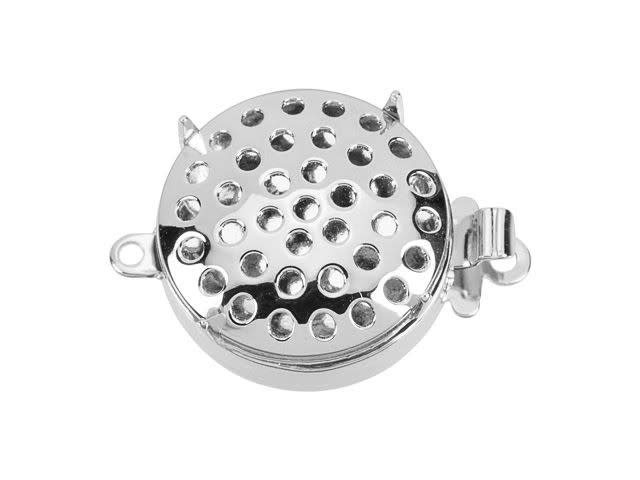
Rhodium-Plated Small Round Perforated Clasp
Code CLASP-0931
$4.94
×1
PRESTIGE 5810 6mm Round Crystal Pearl Rose Gold - Min Qty 10
Code 5810-ROG6
$0.11
$0.19
×50
Nipper Tool
Code TOOL-101
$7.89
×1
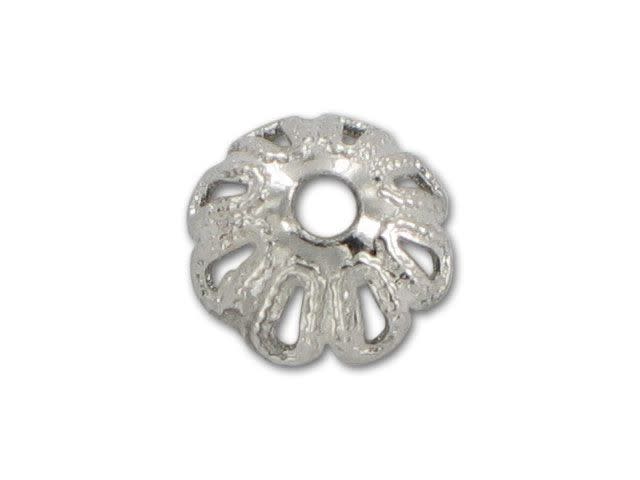
6mm Nickel-Plated Filigree Bead Cap - Min Qty 50
Code NP-CAP01
$0.02
×10
EZ Bracelet Mini - Travel Size Measuring Cone
Code TOOL-148
$10.59
×1
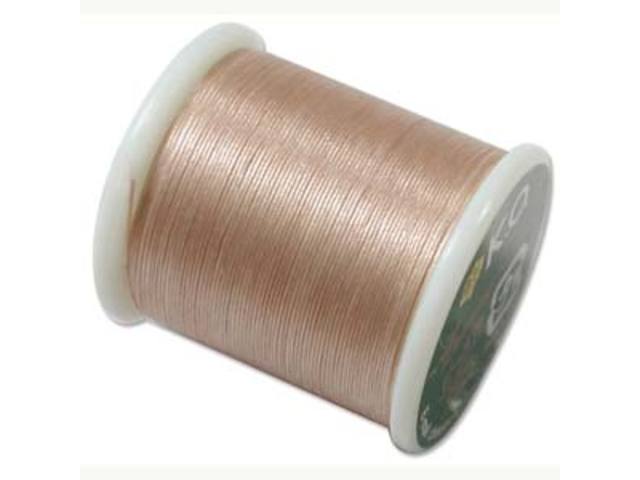
KO Nylon Japanese Beading Thread, Natural (55-Yard Spool)
Code STRNG-0101
$5.99
×1
PRESTIGE 5810 8mm Round Crystal Pearl Rose Gold - Min Qty 4
Code 5810-ROG8
$0.22
$0.35
×15
Tulip Beading Needle No 11 (4 pack)
Code NEED-20
$6.99
×1
Step-by-Step Instructions
Add a stopper bead to a comfortable length of thread and leave a six-inch tail. Follow the stitching path in our Love's Blush Bracelet PDF Diagram to sew the 3mm round pearls in Rose Gold onto the disc of the rhodium-plated small round perforated clasp. Remember, the holes on the diagram represent the holes in the disc and not the pearls. You will start with your thread coming out from underneath the center hole on the clasp. Add a pearl to the thread and then bring your thread back down through the same hole, as the red dot indicates on the diagram. Bring your thread under the disc and up through hole 2 as shown in the diagram. Add a pearl and then go down through hole three. Keep following the diagram in this manner, adding a bead at each red dot and solid black arrow. When you reach hole 32, you will be adding a 2mm faceted round in Crystal instead of a pearl. Do the same for holes 33-43. Tie off and secure your thread once all of your beads have been added. You can add some adhesive to the thread on the back of the disc for extra security. Place the disc on top of the clasp and fold the prongs of the clasp down over the disc with pliers.
Cut a length of jewelry wire approximately ten inches long. Slide a sterling silver 2x2mm crimp tube onto the wire, followed by a sterling silver 4.60mm open jump ring. Bring the wire back through the crimp tube and crimp in place. Hide the crimp with a sterling silver 3mm crimp cover.
Add a 6mm faceted round in Crystal to the wire, followed by a 6mm nickel-plated filigree bead cap, three 8mm round pearls in Rose Gold, and a bead cap. Repeat the pattern four times and then finish the strand with a 6mm Crystal bead. Add a crimp tube to the wire and bring the wire through the jump ring on the other end of the first strand. Bring the wire back through the crimp tube and crimp in place. Hide with a crimp cover.
Cut a length of jewelry wire approximately ten inches long. Slide a crimp tube onto the wire, and then bring the wire through the jump ring attached to one end of your first strand. Bring the wire back through the crimp tube and crimp in place. Hide the crimp with a crimp cover.
Add a 3mm pearl to the wire, followed by a 6mm Crystal bead, and another 3mm pearl. Add 25 6mm round pearls in Rose Gold. Then, add a 3mm pearl, a 6mm Crystal bead, and another 3mm pearl. Add a crimp tube to the wire, followed by a jump ring. Bring the wire back through the crimp tube and crimp in place. Hide with a crimp cover.
Repeat steps 4 and 5 for another strand, attaching it to the same jump rings as before.
Attach each half of your clasp to each end of the bracelet using a jump ring for each.