Once you have the basics down on how to create a Kumihimo braid you will more than likely want to try adding some beads to the braid. This involves a little more prep time before you get started but the results are well worth it. When planning your design, keep in mind that the finished results will differ depending on colors, size of beads and number of beaded strands. Also note that the size of stringing material will be determined by the hole size in the beads you want to use. Here we will show you how to create an 8 warp basic round Kumihimo braid using size 8/0 TOHO beads on all 8 strands.
First determine the length of braid you want. As a general rule cut three times the desired length of stringing material. This should accommodate most designs, even with beads.
Next you will need to determine how many beads are needed. We are using size 8/0 TOHO beads on all 8 strands. Refer to our chart on Kumihimo math.
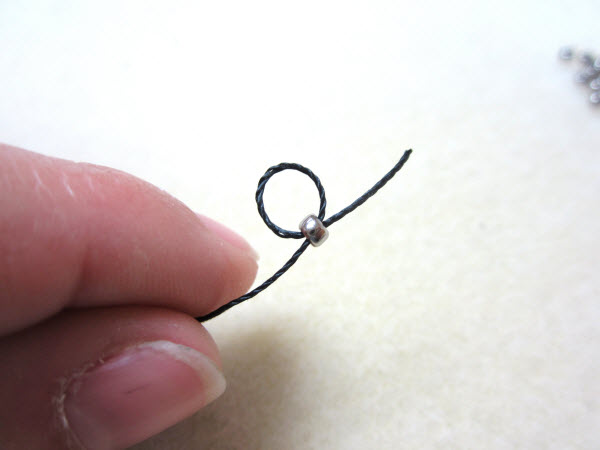
String one bead and then go back up through the bead to create a stopper bead. Do this for all 8 strands.
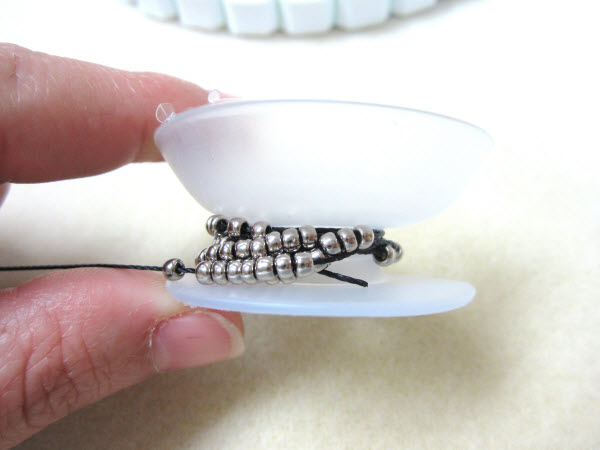
On each strand string on the appropriate amount of beads. Then wind the beaded strands onto their own bobbins leaving the open stringing end hanging out.
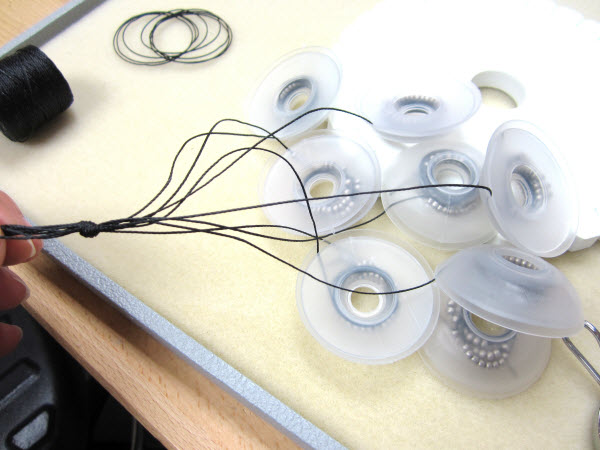
Gather the open stringing ends of all 8 strands and tie them together in a knot.
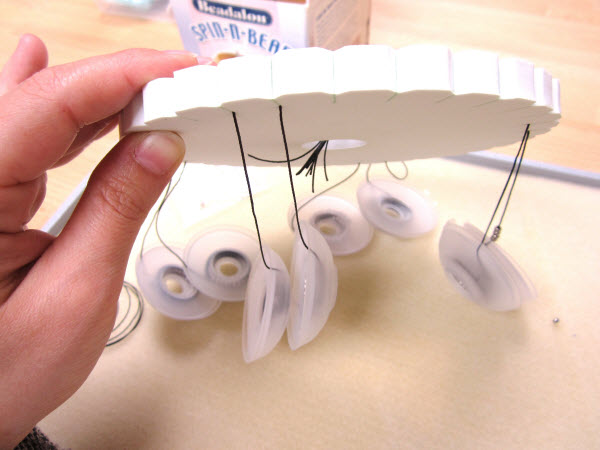
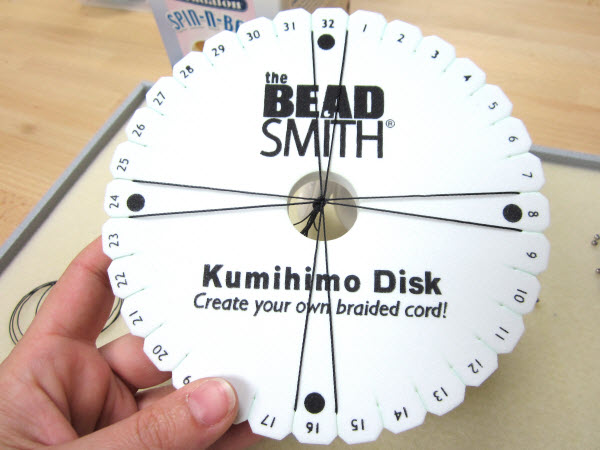
Drop the knot into the center hole on the Kumihimo disk and place the strings into the slits on either side of the positioning dots.
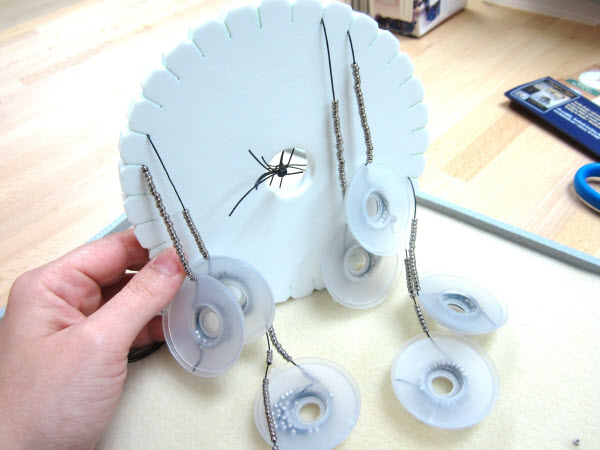
Your Kumihimo disk should look like this.
Braid about 1/2 inch of braid with no beads. Having no beads on this section will make it easier to bind the end when you need to finish the braid.
Pull some beads from each bobbin up onto the strands and then close the bobbins. I pulled quite a few beads but you can start with as many or as few as you are comfortable with. The directions for braiding are the same whether using beads or not. The only difference is when using beads you will need to slide one bead into the braid for each strand as you progress. Note that the first few beads will look like a jumbled mess. They should even out as you progress as long as you remember to keep good tension on your strings as you work.
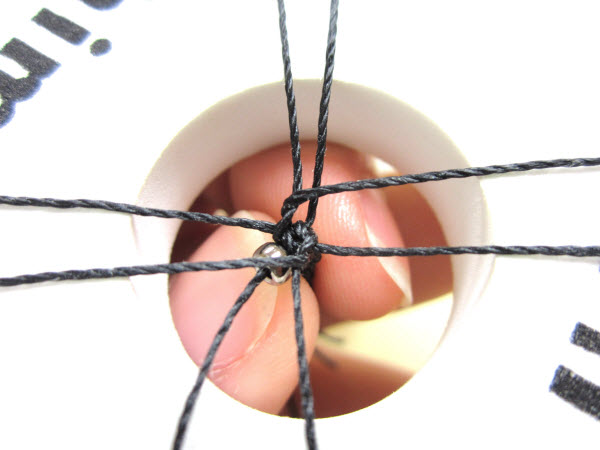
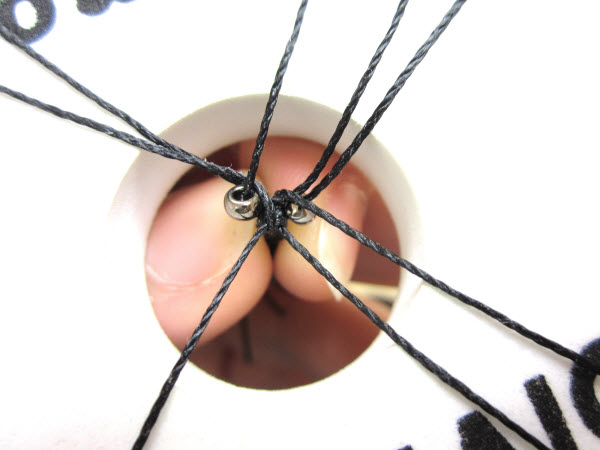
Pull warp 17 out of the slit and bring one bead up onto the string. Slide the bead as far as you can. It should rest up under warp 24.
Pull warp 17 up and place it into slit 31.
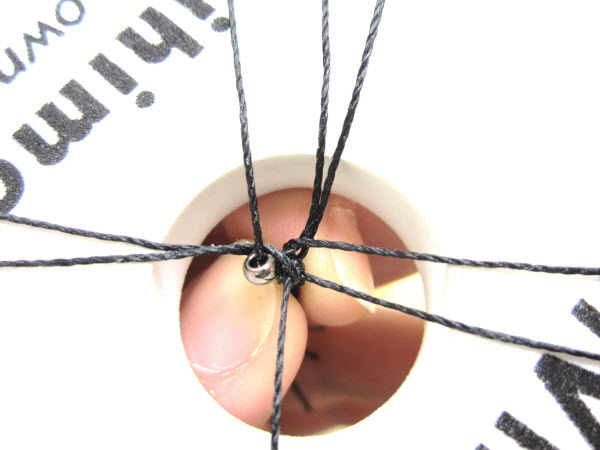
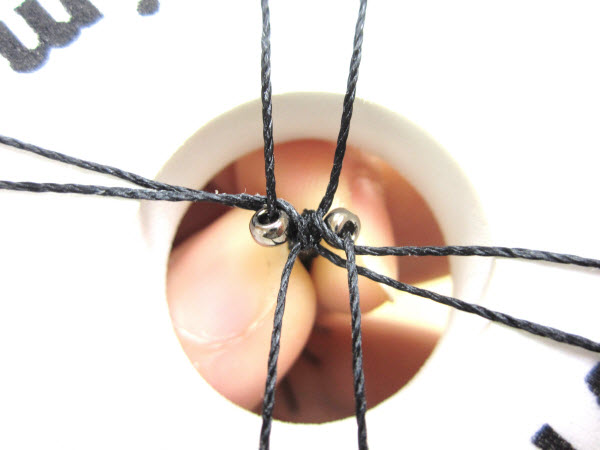
Slide one bead up onto warp 1. This bead should be nested under warp 8.
Bring warp 1 down to slit 15.
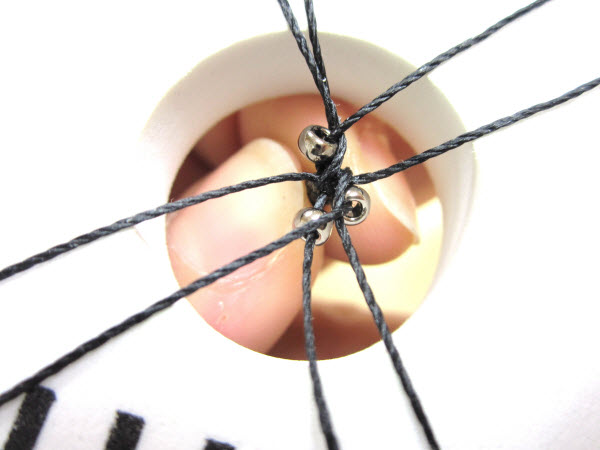
Turn the Kumihimo disk clockwise 1/4 turn, or 90 degrees, so that the dot between slots 8 and 9 on the disk is at the bottom. Continue by bringing 1 bead up onto warp 9 so it sits under warp 15.
Move warp 9 up into slit 23.
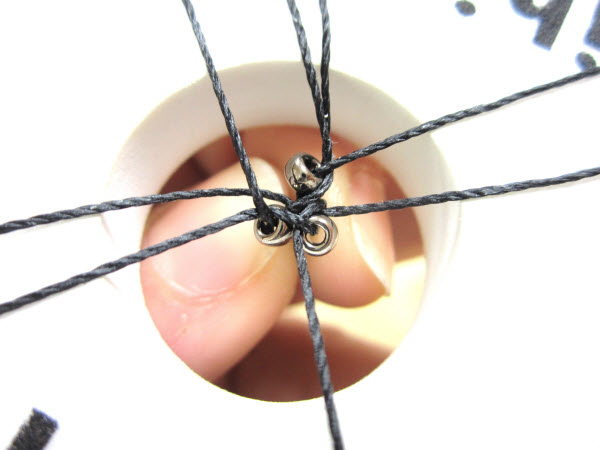
Continue this pattern by bringing 1 bead up onto warp 25. Move warp 25 down into slit 7 so the bead is resting just under warp 31.
Turn the disk 1/4 turn clockwise. Slide 1 bead up onto warp 32 and move warp 32 across to slit 14.
Bring 1 bead onto warp 16. Move warp 16 across to slit 30. Turn the disk clockwise 1/4 turn.
Continue with this pattern until you have reached the desired length. Do not count the 1/2 inch of unbeaded braid as part of your overall length as this will be cut off.
Create another 1/2 inch of plain braid.
Remove the braid from the disk and tie all 8 strand ends together in a knot.
"
,
To Finish a Kumihimo Braid with Crimp End
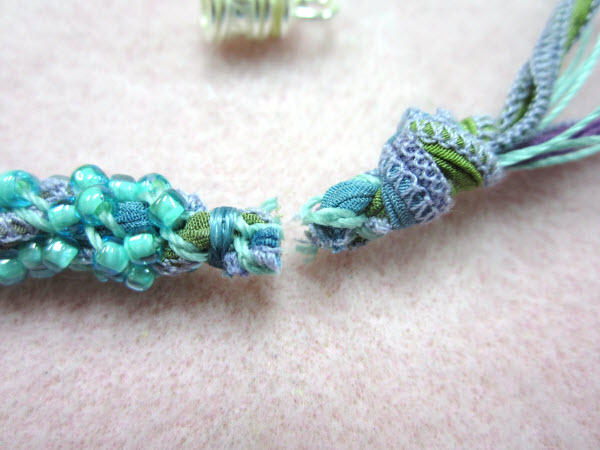
Cut a length of Nymo D thread and tie a knot around one end of the braid. Tightly wrap one end of the Nymo around the braid a few times and then repeat with the other end going in the opposite direction from the first. Tie another knot to secure and then use a thread burner to remove the excess thread.
Cut the end of the braid off.
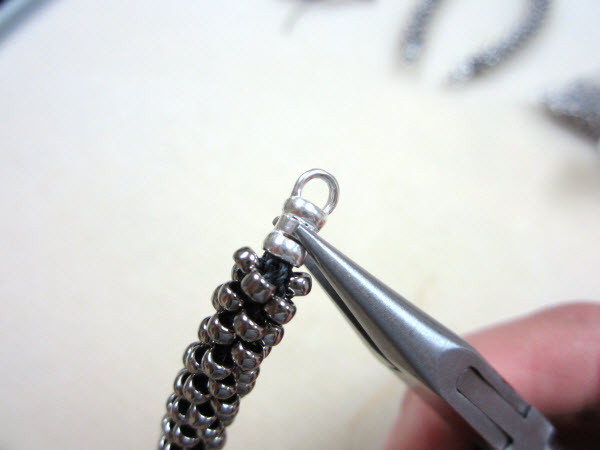
Place a crimp end over the end so that the Nymo is not visible and then crimp with a pair of chain nose pliers.
,
To Finish a Kumihimo Braid with End Caps
Follow the instructions from previous on wrapping the braid with Nymo. Now is a good time to measure the end and decide which size end cap is needed. Be sure to measure how long of an end to leave on the braid as you want it to reach the very tip of the endcap for a secure hold. I like to cut the end long and then test my end cap to see how it fits. Cut more off if needed until the fit is perfect.
Apply some adhesive to the inside of the endcap and to the end of the braid. I like to use one hour epoxy.
Slide the endcaps over the braid ends as far as you can and let dry.
Add all available items to your cart at once or edit the quantities below.
Any items with quantities lower than stated minimums will default to the minimum in your cart.
Nice choice! All or most of the products needed for this project are shown
below with quantities. Sometimes we sell out of components and aren’t able to order more from
the manufacturer (we know, it is very disappointing to us, too). Use the opportunity to mix up
the design and make it yours by substituting similar products or altering the entire color
scheme—it’s up to you!
Please wait while we add the products to your cart.
Kumihimo with Beads
Adding Beads to an 8 Warp Basic Round Braid
designed byArtbeads
Skill LevelIntermediate
TechniqueKumihimo
Time1-3 Hours
Once you have the basics down on how to create a Kumihimo braid you will more than likely want to try adding some beads to the braid. This involves a little more prep time before you get started but the results are well worth it. When planning your design, keep in mind that the finished results will differ depending on colors, size of beads and number of beaded strands. Also note that the size of stringing material will be determined by the hole size in the beads you want to use. Here we will show you how to create an 8 warp basic round Kumihimo braid using size 8/0 TOHO beads on all 8 strands.
First determine the length of braid you want. As a general rule cut three times the desired length of stringing material. This should accommodate most designs, even with beads.
Next you will need to determine how many beads are needed. We are using size 8/0 TOHO beads on all 8 strands. Refer to our chart on Kumihimo math.
Supplies
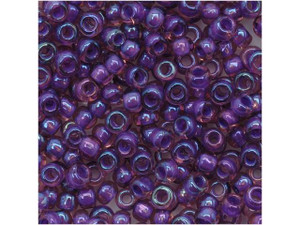
TOHO Bead Round 8/0 Color-Lined Purple/Rosaline AB, 2.5-Inch Tube
Code TBRD8-928
$2.41
×3
TOHO Bead Round 8/0 Frosted Transparent Orchid, 2.5-Inch Tube
Code TBRD8-19F
$2.41
×3
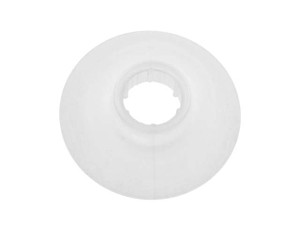
The BeadSmith 2 1/2-Inch No Tangle Thread Bobbin with 3/4-Inch Hole
Code SUP-0052
$0.90
×8
Chain Nose Pliers
Code TOOL-106
$10.99
×1
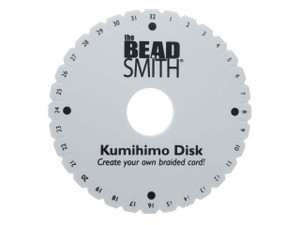
The Beadsmith Kumihimo Round Braiding Foam Disk with Instructions
Code TOOL-616
$7.99
×1
Nymo D Bobbin Golden
Code NYD-GOLD
$3.73
×1
JBB 2mm Antique Sterling Silver Crimp End Cap with Loop
Code SSA-ENDCAP02
$2.41
×2
TOHO Bead Round 8/0 Trans-Rainbow Teal, 2.5-Inch Tube
Code TBRD8-167BD
$2.52
×1
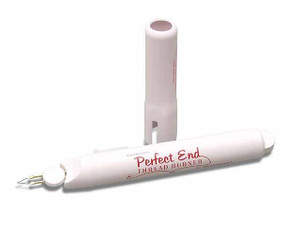
Perfect End Thread Burner
Code BURN
$37.99
×1
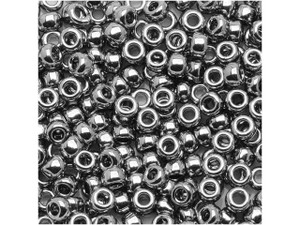
TOHO Bead Round 8/0 Nickel, 2.5-Inch Tube
Code TBRD8-711
$6.99
×2
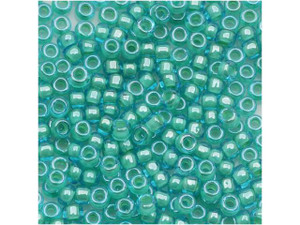
TOHO Bead Round 8/0 Yellow Lined Aqua, 2.5-Inch Tube
Code TBRD8-954
$2.41
×3
Step-by-Step Instructions
String one bead and then go back up through the bead to create a stopper bead. Do this for all 8 strands.
On each strand string on the appropriate amount of beads. Then wind the beaded strands onto their own bobbins leaving the open stringing end hanging out.
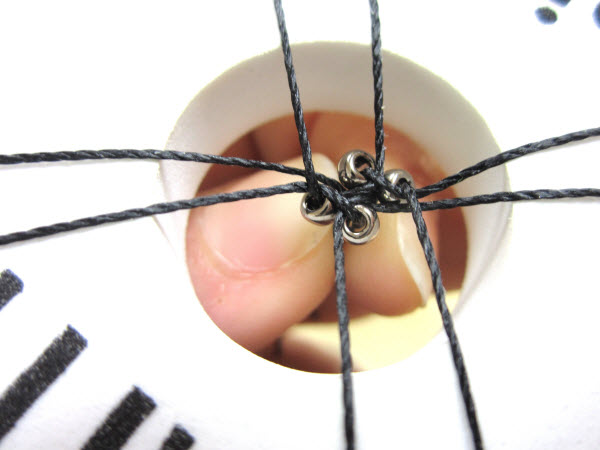
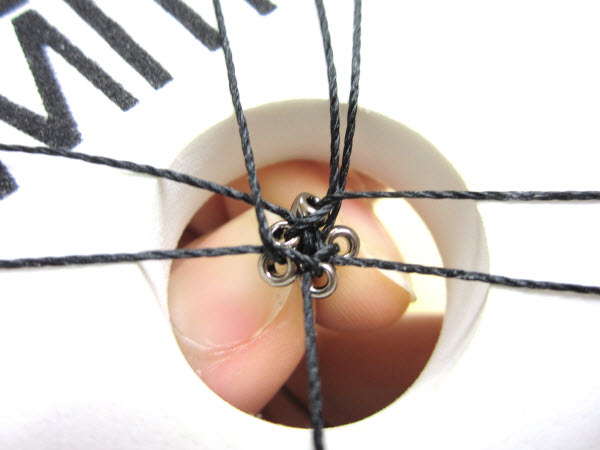
Gather the open stringing ends of all 8 strands and tie them together in a knot.
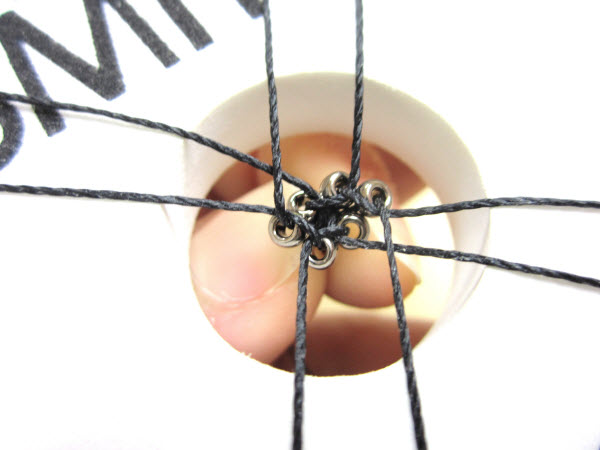
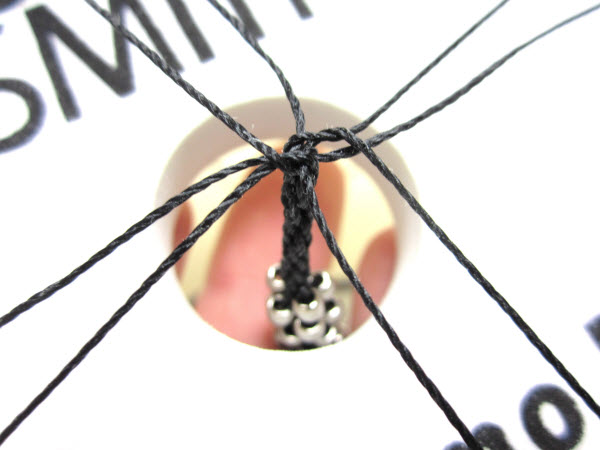
Drop the knot into the center hole on the Kumihimo disk and place the strings into the slits on either side of the positioning dots.
Your Kumihimo disk should look like this.
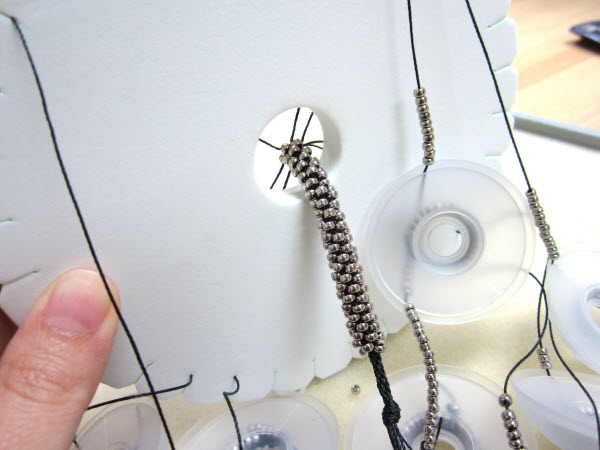
Braid about 1/2 inch of braid with no beads. Having no beads on this section will make it easier to bind the end when you need to finish the braid.
Pull some beads from each bobbin up onto the strands and then close the bobbins. I pulled quite a few beads but you can start with as many or as few as you are comfortable with. The directions for braiding are the same whether using beads or not. The only difference is when using beads you will need to slide one bead into the braid for each strand as you progress. Note that the first few beads will look like a jumbled mess. They should even out as you progress as long as you remember to keep good tension on your strings as you work.
Pull warp 17 out of the slit and bring one bead up onto the string. Slide the bead as far as you can. It should rest up under warp 24.
Pull warp 17 up and place it into slit 31.
Slide one bead up onto warp 1. This bead should be nested under warp 8.
Bring warp 1 down to slit 15.
Turn the Kumihimo disk clockwise 1/4 turn, or 90 degrees, so that the dot between slots 8 and 9 on the disk is at the bottom. Continue by bringing 1 bead up onto warp 9 so it sits under warp 15.
Move warp 9 up into slit 23.
Continue this pattern by bringing 1 bead up onto warp 25. Move warp 25 down into slit 7 so the bead is resting just under warp 31.
Turn the disk 1/4 turn clockwise. Slide 1 bead up onto warp 32 and move warp 32 across to slit 14.
Bring 1 bead onto warp 16. Move warp 16 across to slit 30. Turn the disk clockwise 1/4 turn.
Continue with this pattern until you have reached the desired length. Do not count the 1/2 inch of unbeaded braid as part of your overall length as this will be cut off.
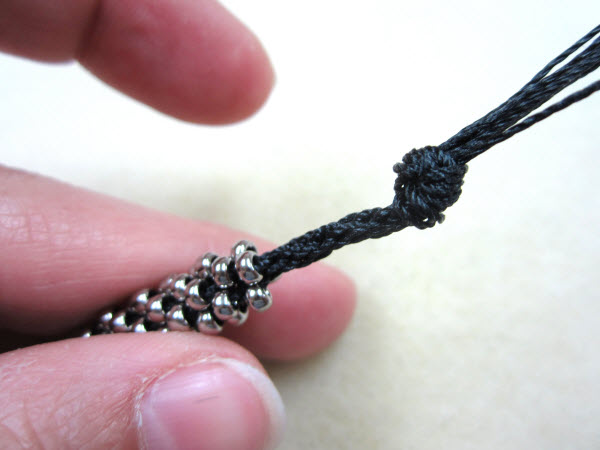
Create another 1/2 inch of plain braid.
Remove the braid from the disk and tie all 8 strand ends together in a knot.
"
,
To Finish a Kumihimo Braid with Crimp End
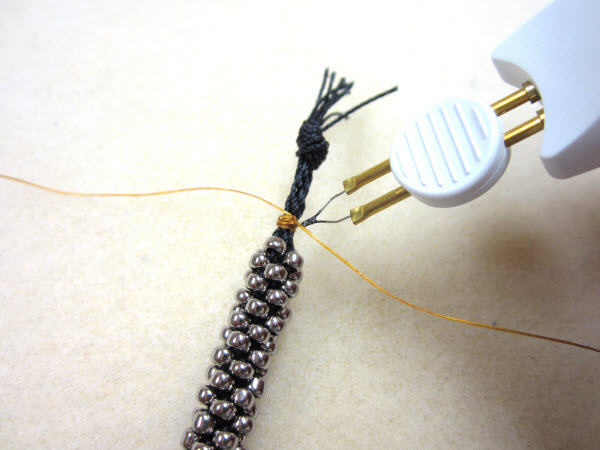
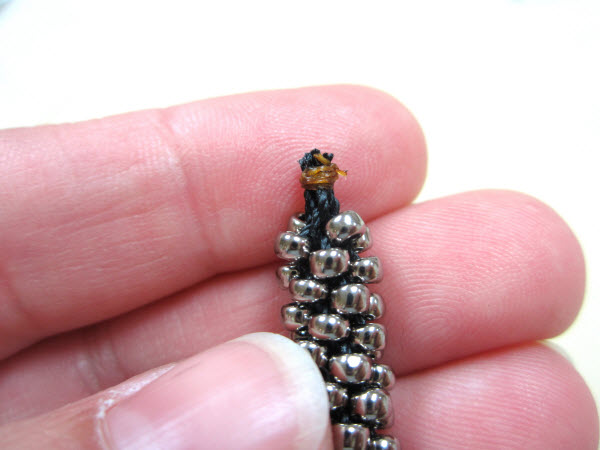
Cut a length of Nymo D thread and tie a knot around one end of the braid. Tightly wrap one end of the Nymo around the braid a few times and then repeat with the other end going in the opposite direction from the first. Tie another knot to secure and then use a thread burner to remove the excess thread.
Cut the end of the braid off.
Place a crimp end over the end so that the Nymo is not visible and then crimp with a pair of chain nose pliers.
,
To Finish a Kumihimo Braid with End Caps
Follow the instructions from previous on wrapping the braid with Nymo. Now is a good time to measure the end and decide which size end cap is needed. Be sure to measure how long of an end to leave on the braid as you want it to reach the very tip of the endcap for a secure hold. I like to cut the end long and then test my end cap to see how it fits. Cut more off if needed until the fit is perfect.
Apply some adhesive to the inside of the endcap and to the end of the braid. I like to use one hour epoxy.
Slide the endcaps over the braid ends as far as you can and let dry.