Bead embroidery allowed me to play around with the shape and colors of this pin. I had fun building off of the unique shape of the Hamsa hand.
Bead embroidery is a great way to showcase unique elements in your jewelry designs. The Hamsa hand at the center of this pin is made all the more special by the bead embroidered accents around it. Find a shape you love and start playing with bead embroidery in your designs. You can find more inspiration for creating little embroidery pieces that make your style stand out in this Artbeads Cafe episode.
Cut your bead backing a bit larger than the anticipated finished piece. Our pin is 1 1/2 inches in length, so try cutting a piece of bead backing a little bit larger than that.
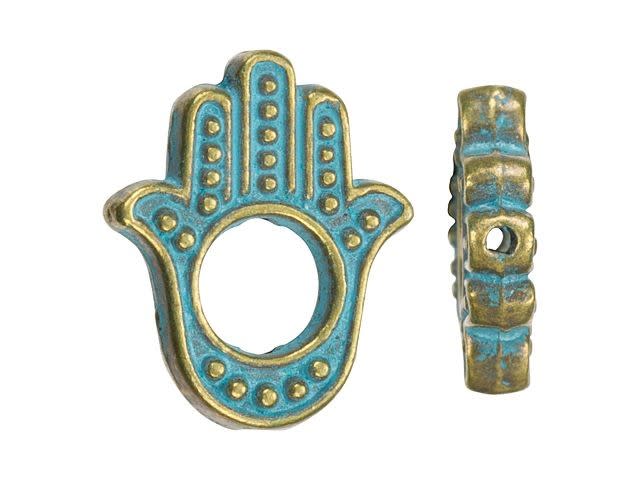
Position the brass-plated Hamsa bead with patina finish onto your bead backing and stitch it onto the bead backing using the stringing holes of the bead.
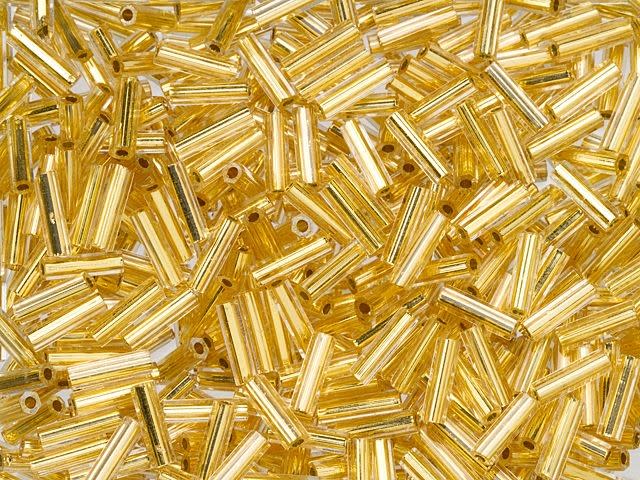
Stitch a Miyuki 6mm matte opaque turquoise bugle bead, three Miyuki 6mm 24kt gold-lined crystal bugle bead, and another turquoise bugle bead in a row just below the Hamsa hand, following the curve of the palm.
Position your needle so that it is coming out of the bead backing just below the center gold bugle bead. Add a TOHO 8/0 bead round in silver-lined milky grapefruit, followed by a TOHO 15/0 bead round in silver-lined medium gold. Go back through the 8/0 grapefruit bead and the bead backing. Repeat this three times each for the sides of the hand, just above the turquoise bugle bead on each side.
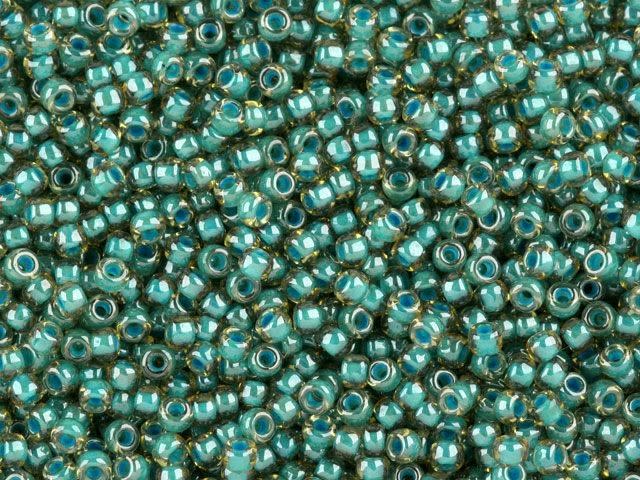
Position your needle so that it is coming out of the bead backing right next to the 8/0 grapefruit bead below the bugle beads. Add a TOHO 11/0 gilt-lined turquoise opal bead round, followed by a 15/0 gold bead. Go back through the 11/0 turquoise bead and the bead backing. Repeat up one side of the bugle beads and then the other side of the bugle beads. Also repeat to frame the tips of the fingers of the Hamsa hand.
Shorten the 2-inch brass Bali style head pin with patina finish to fit inside of the opening of the Hamsa hand so that the head is on display. Fill the opening of the hand with 5-minute two-party epoxy and place the head pin inside. Allow to dry. Glue the SS7 rose enhanced flatback in Tangerine into the opening at the top of the head pin and allow to dry.
Trim your bead backing to the edge of the beads, making sure not to cut any threads. Cut another piece of backing to fit the embroidered backing. Attach this backing to your piece using the brick stitch edge technique with the 8/0 grapefruit seed beads.
Create a picot edge on the brick stitch edge using two TOHO 11/0 bead rounds in aqua lined jonquil, one 11/0 turquoise bead, and two 11/0 aqua lined jonquil beads for each scallop. Fill in any gaps between the scallops with a single 15/0 gold bead.
Add all available items to your cart at once or edit the quantities below.
Any items with quantities lower than stated minimums will default to the minimum in your cart.
Nice choice! All or most of the products needed for this project are shown
below with quantities. Sometimes we sell out of components and aren’t able to order more from
the manufacturer (we know, it is very disappointing to us, too). Use the opportunity to mix up
the design and make it yours by substituting similar products or altering the entire color
scheme—it’s up to you!
Please wait while we add the products to your cart.
Fatima's Blessing
Bead Embroidered Hamsa Hand Pin
designed byCheri Carlson
Skill LevelIntermediate
TechniqueBead Embroidery
Time4-6 Hours
Approximate Size1 1/2 Inches
Bead embroidery allowed me to play around with the shape and colors of this pin. I had fun building off of the unique shape of the Hamsa hand.
Bead embroidery is a great way to showcase unique elements in your jewelry designs. The Hamsa hand at the center of this pin is made all the more special by the bead embroidered accents around it. Find a shape you love and start playing with bead embroidery in your designs. You can find more inspiration for creating little embroidery pieces that make your style stand out in this Artbeads Cafe episode.
Supplies
KO Nylon Japanese Beading Thread, Dark Brown (55-Yard Spool)
Brass-Plated Hamsa Bead with Patina Finish - Min Qty 4
Code BEAD-4363
$0.19
$0.31
×1
TOHO Bead Round 11/0 Aqua Lined Jonquil, 2.5-Inch Tube
Code TBRD11-953
$1.49
×1
TOHO Bead Round 15/0 Silver-Lined Medium Gold 2.5-Inch Tube
Code TBRD15-22B
$1.89
×1
Tulip Beading Needle No 11 (4 pack)
Code NEED-20
$6.99
×1
Step-by-Step Instructions
Cut your bead backing a bit larger than the anticipated finished piece. Our pin is 1 1/2 inches in length, so try cutting a piece of bead backing a little bit larger than that.
Position the brass-plated Hamsa bead with patina finish onto your bead backing and stitch it onto the bead backing using the stringing holes of the bead.
Stitch a Miyuki 6mm matte opaque turquoise bugle bead, three Miyuki 6mm 24kt gold-lined crystal bugle bead, and another turquoise bugle bead in a row just below the Hamsa hand, following the curve of the palm.
Position your needle so that it is coming out of the bead backing just below the center gold bugle bead. Add a TOHO 8/0 bead round in silver-lined milky grapefruit, followed by a TOHO 15/0 bead round in silver-lined medium gold. Go back through the 8/0 grapefruit bead and the bead backing. Repeat this three times each for the sides of the hand, just above the turquoise bugle bead on each side.
Position your needle so that it is coming out of the bead backing right next to the 8/0 grapefruit bead below the bugle beads. Add a TOHO 11/0 gilt-lined turquoise opal bead round, followed by a 15/0 gold bead. Go back through the 11/0 turquoise bead and the bead backing. Repeat up one side of the bugle beads and then the other side of the bugle beads. Also repeat to frame the tips of the fingers of the Hamsa hand.
Shorten the 2-inch brass Bali style head pin with patina finish to fit inside of the opening of the Hamsa hand so that the head is on display. Fill the opening of the hand with 5-minute two-party epoxy and place the head pin inside. Allow to dry. Glue the SS7 rose enhanced flatback in Tangerine into the opening at the top of the head pin and allow to dry.
Trim your bead backing to the edge of the beads, making sure not to cut any threads. Cut another piece of backing to fit the embroidered backing. Attach this backing to your piece using the brick stitch edge technique with the 8/0 grapefruit seed beads.
Create a picot edge on the brick stitch edge using two TOHO 11/0 bead rounds in aqua lined jonquil, one 11/0 turquoise bead, and two 11/0 aqua lined jonquil beads for each scallop. Fill in any gaps between the scallops with a single 15/0 gold bead.